For parents
Understand your child's online lesson screen
Your child's lesson is a live, one-to-one video call in a browser. See where their tutor appears, what changes on screen and which buttons your child can press.
Music: “Rise” by Corporate Music Zone, from Free Stock Music, licensed under CC BY 4.0.
Step 1
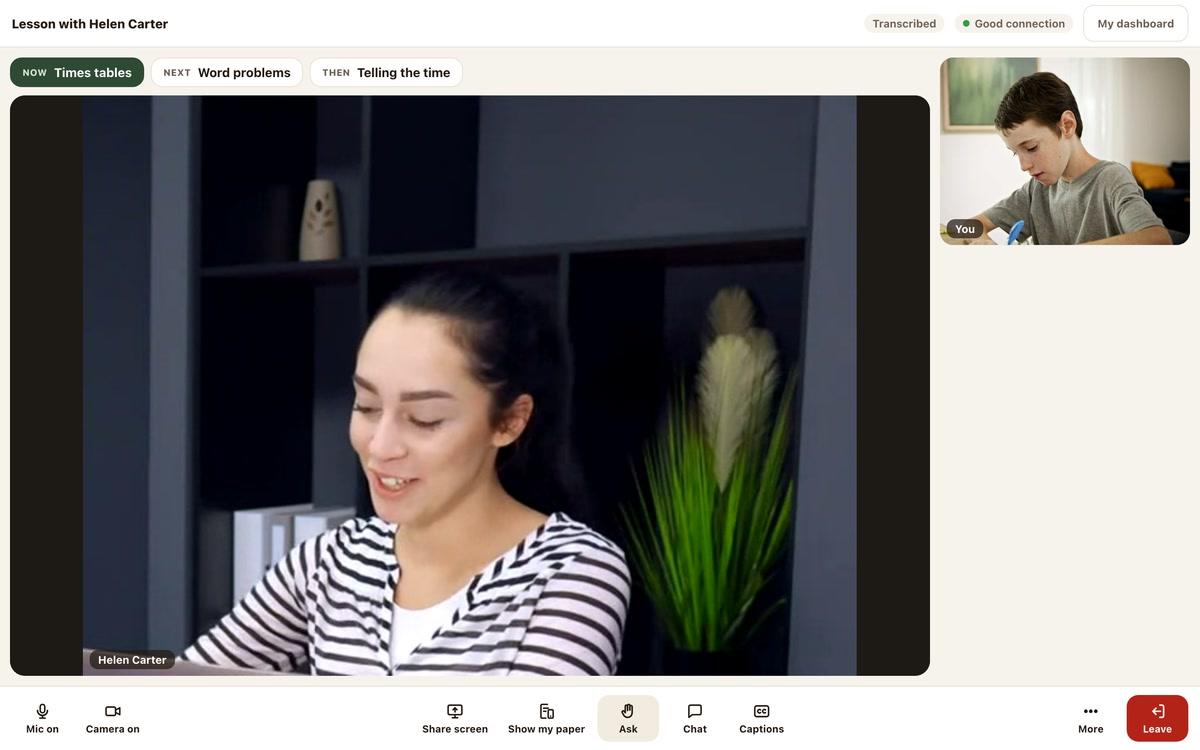
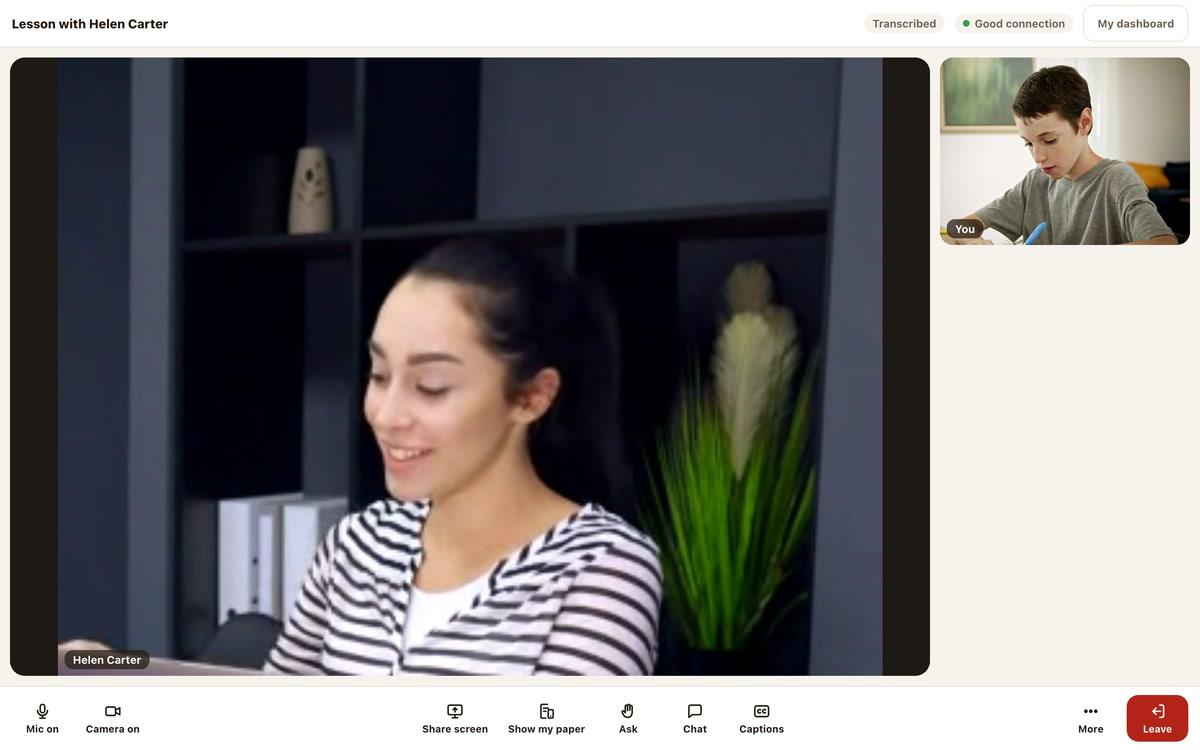
The tutor is in the big picture
Your child sees their tutor in the big picture. Their own picture is smaller, at the side.
- Pictures stay put when someone speaks
- Use a laptop, desktop or tablet
Step 2
See the plan for the lesson
If the tutor sets a plan, your child sees three parts: Now, Next and Then.
- Along the top of the screen
- Shows what they're doing now
Step 3
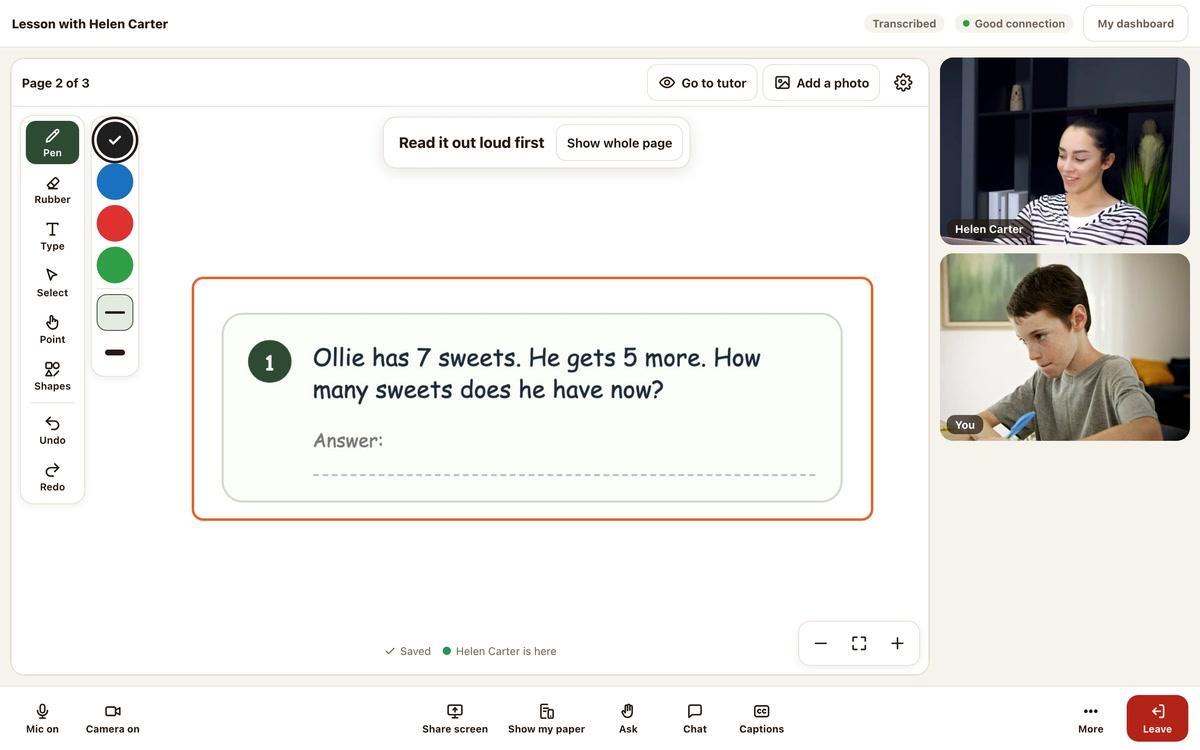
The tutor changes what is on screen
The tutor chooses whether your child sees faces, a shared screen or the whiteboard. When they switch to the whiteboard, your child sees “Now showing the whiteboard”.
- For sharing: “Now showing a shared screen”
- For faces: “Back to talking”
Step 4
Find the buttons along the bottom
Your child’s bottom bar has Mic on, Camera on, Share screen, Show my paper, Ask, Chat and Captions.
Press More for your child’s own settings.
- Settings can hide their own picture
- Settings can blur their background
- Settings can make captions bigger
Step 5
Leaving the lesson
To leave the lesson, your child presses Leave.
- The button is red
- Bottom right of the lesson screen
Good to know
Ask without interrupting
Your child decides when to come back
One question at a time
Still stuck?
We will sort it out with you
Tell us what you pressed, what you saw, and which device and browser you are using.