For tutors
Test your camera and microphone
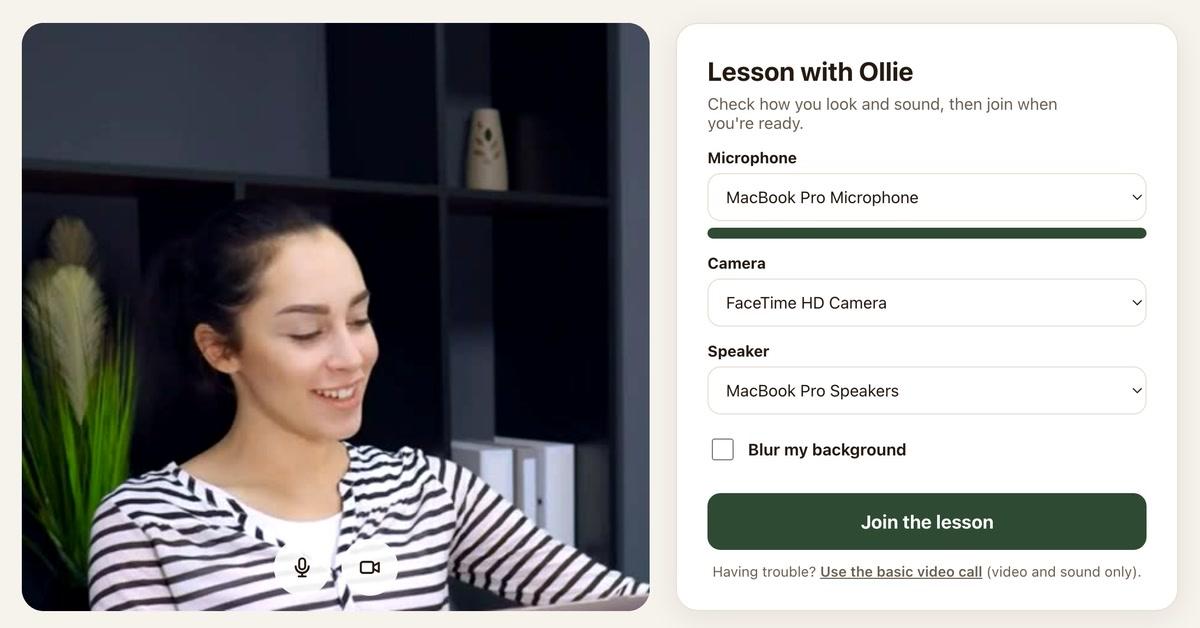
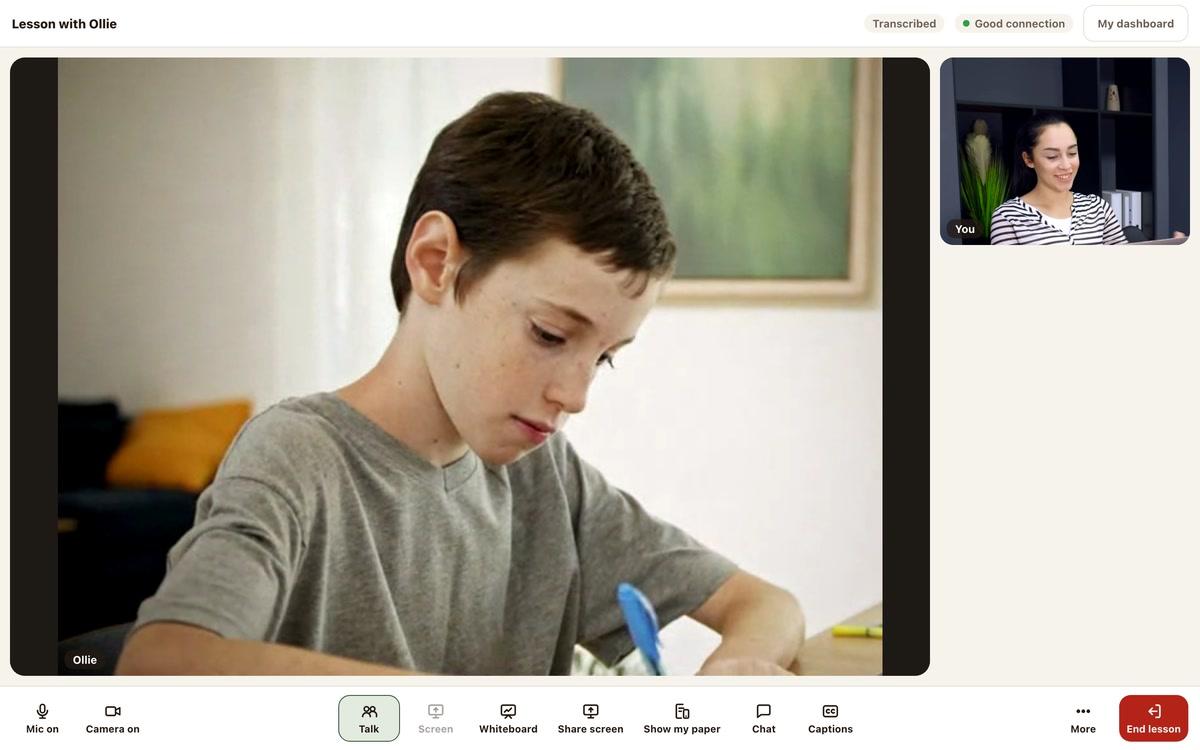
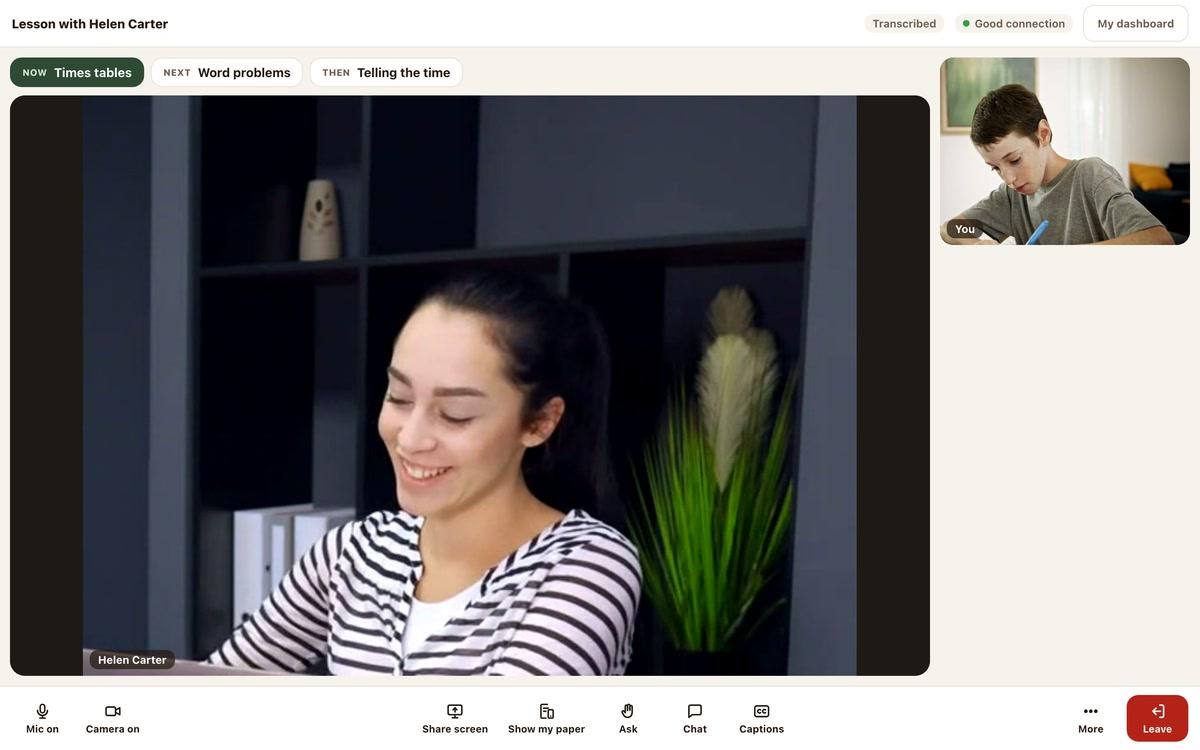
Get ready for your sessions. Check your camera, microphone and screen sharing in your private test room. You can use it before your profile is approved.
Music: “Rise” by Corporate Music Zone, from Free Stock Music, licensed under CC BY 4.0.
Step 1
Start your camera and microphone test
Press Test video in the menu, then Start test. Your browser asks to use your camera and microphone. Press Allow. The call window opens and shows you.
- Your call window opens
- You can see yourself
Step 2
Look for the two ticks
In the Checklist, Camera ticks when you can see yourself. Say a few words. Microphone ticks when the test hears you.
- Each item ticks itself when it works
- Say a few words
Step 4
End the test when everything works
Press End test under the Checklist. With all three items ticked, you’ll see All working. You are ready for your sessions. The Test again button appears below.
- Check all three items are ticked
- You can run the test again
Good to know
Just for you
Check again after a change
More ways to practise
Still stuck?
We will sort it out with you
Tell us what you pressed, what you saw, and which device and browser you are using.